Processes & Operations
Prusa basics
3 StepsProcess Steps:
Step 1
Importing STL Files
To import an STL File choose file -> Import -> STL, Most STL files are metric if it seems huge it may be imperial
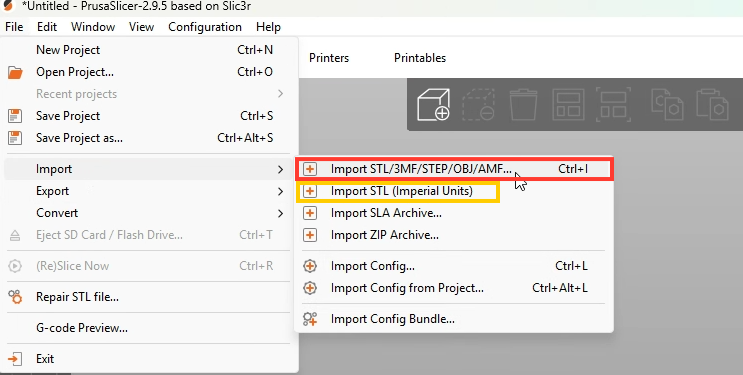
Detailed Step Operations:
Select the desired File
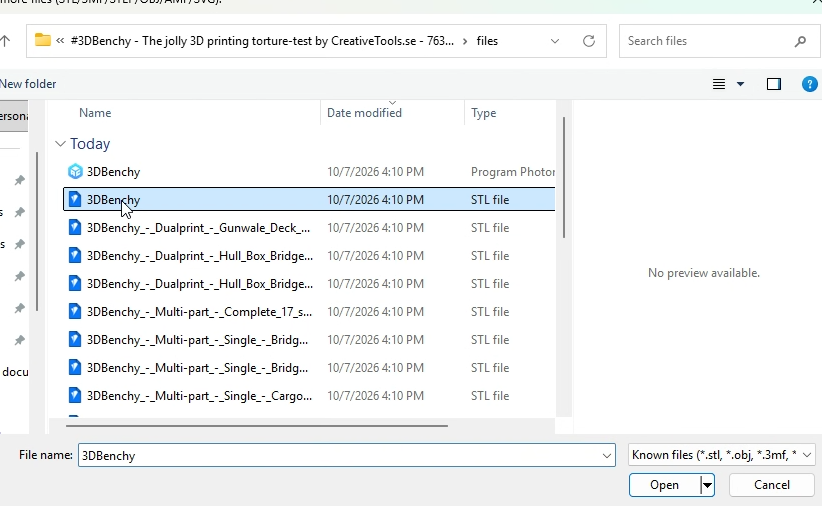
The Model will load in your workspace
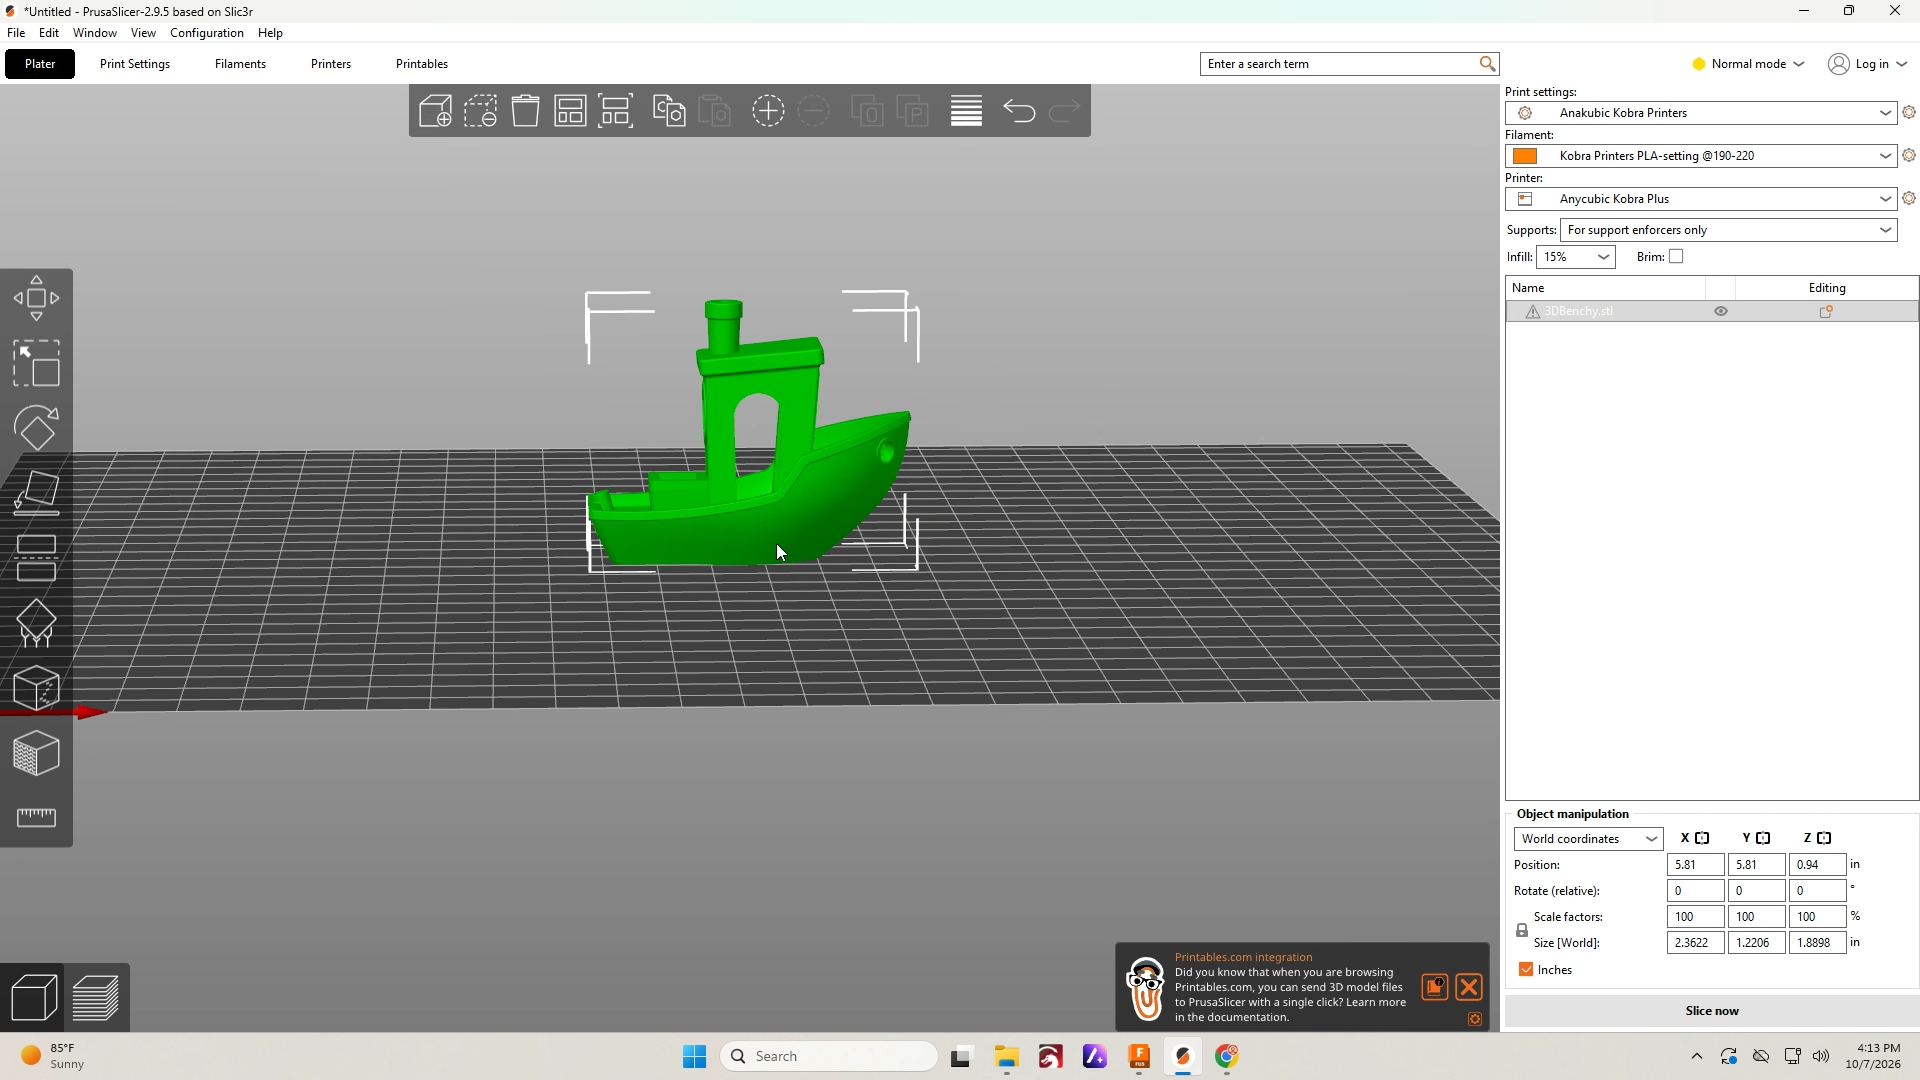
Adding Support material to models
Select the model that requires material
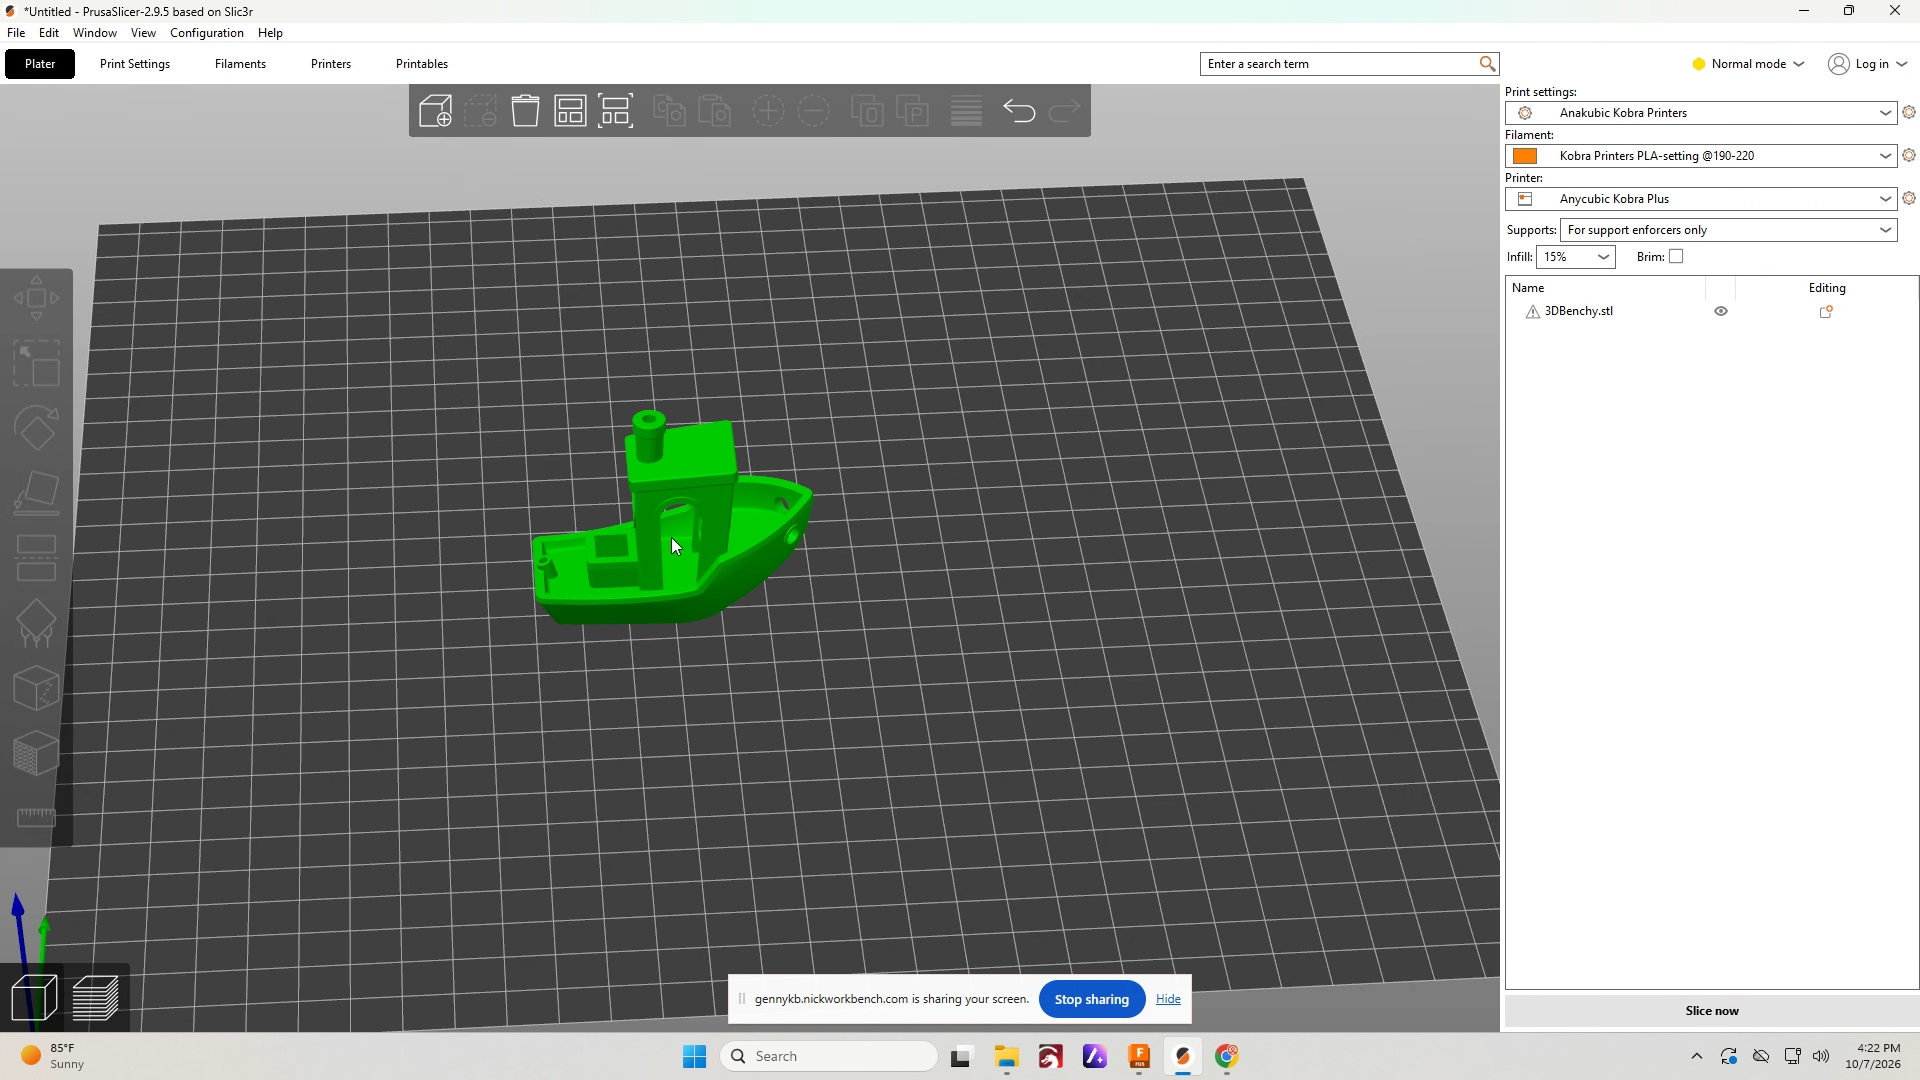
Detailed Step Operations:
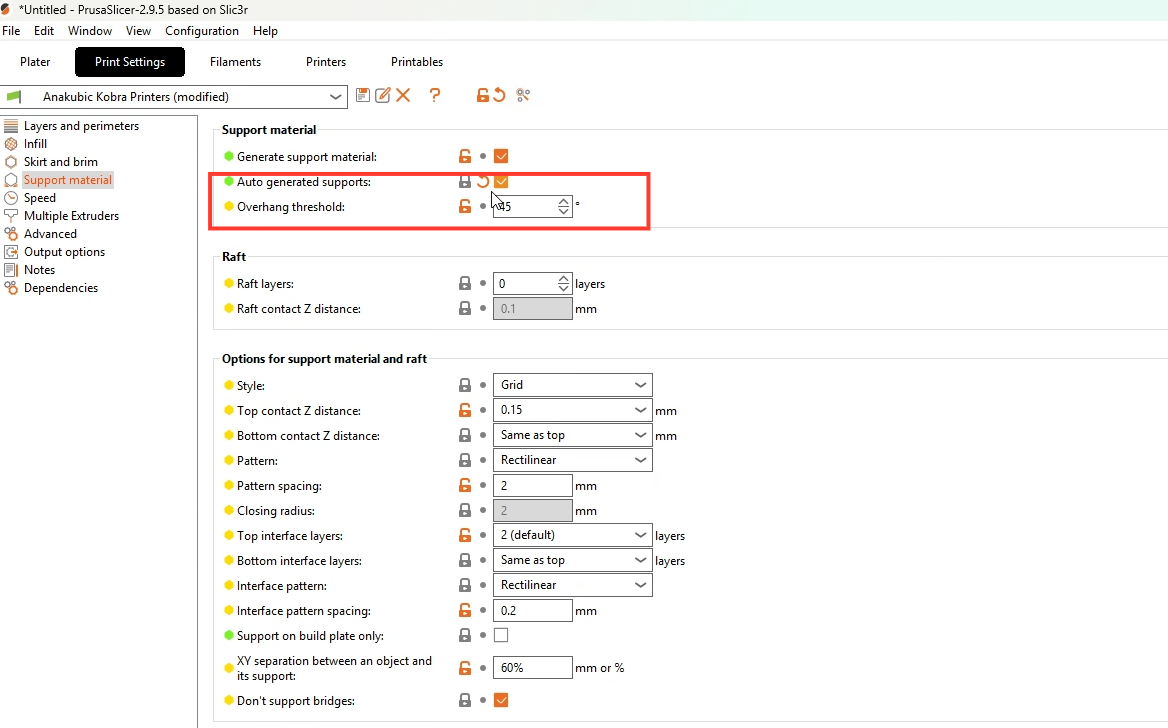
Automatic Support
If the model has a few places that require support the automatic option can save time. In Print settings select Auto generate supports and specify an overhang threshold.
Select Slice to see the results
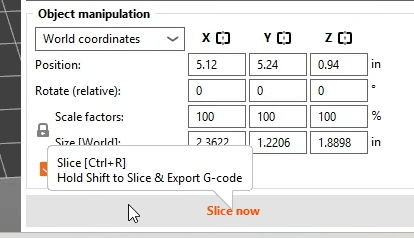
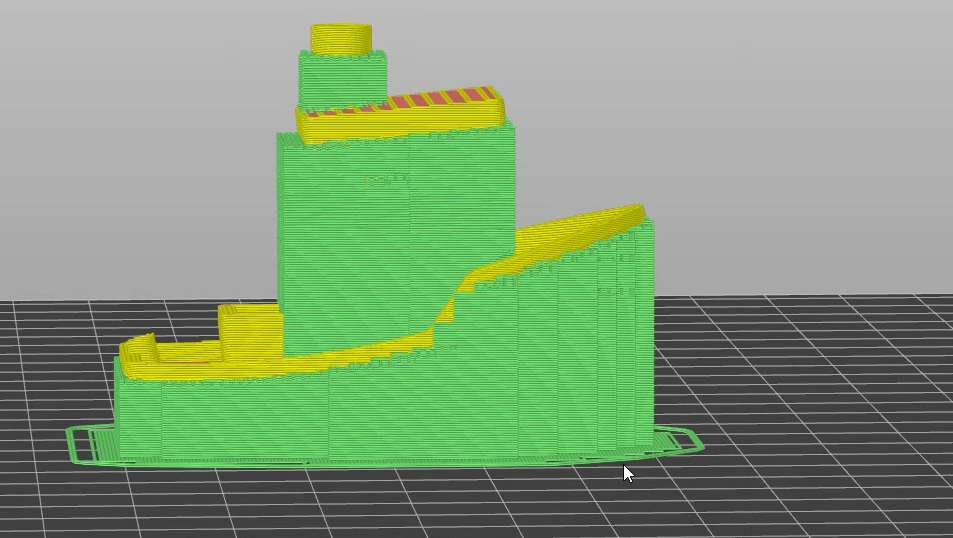
Slicing results
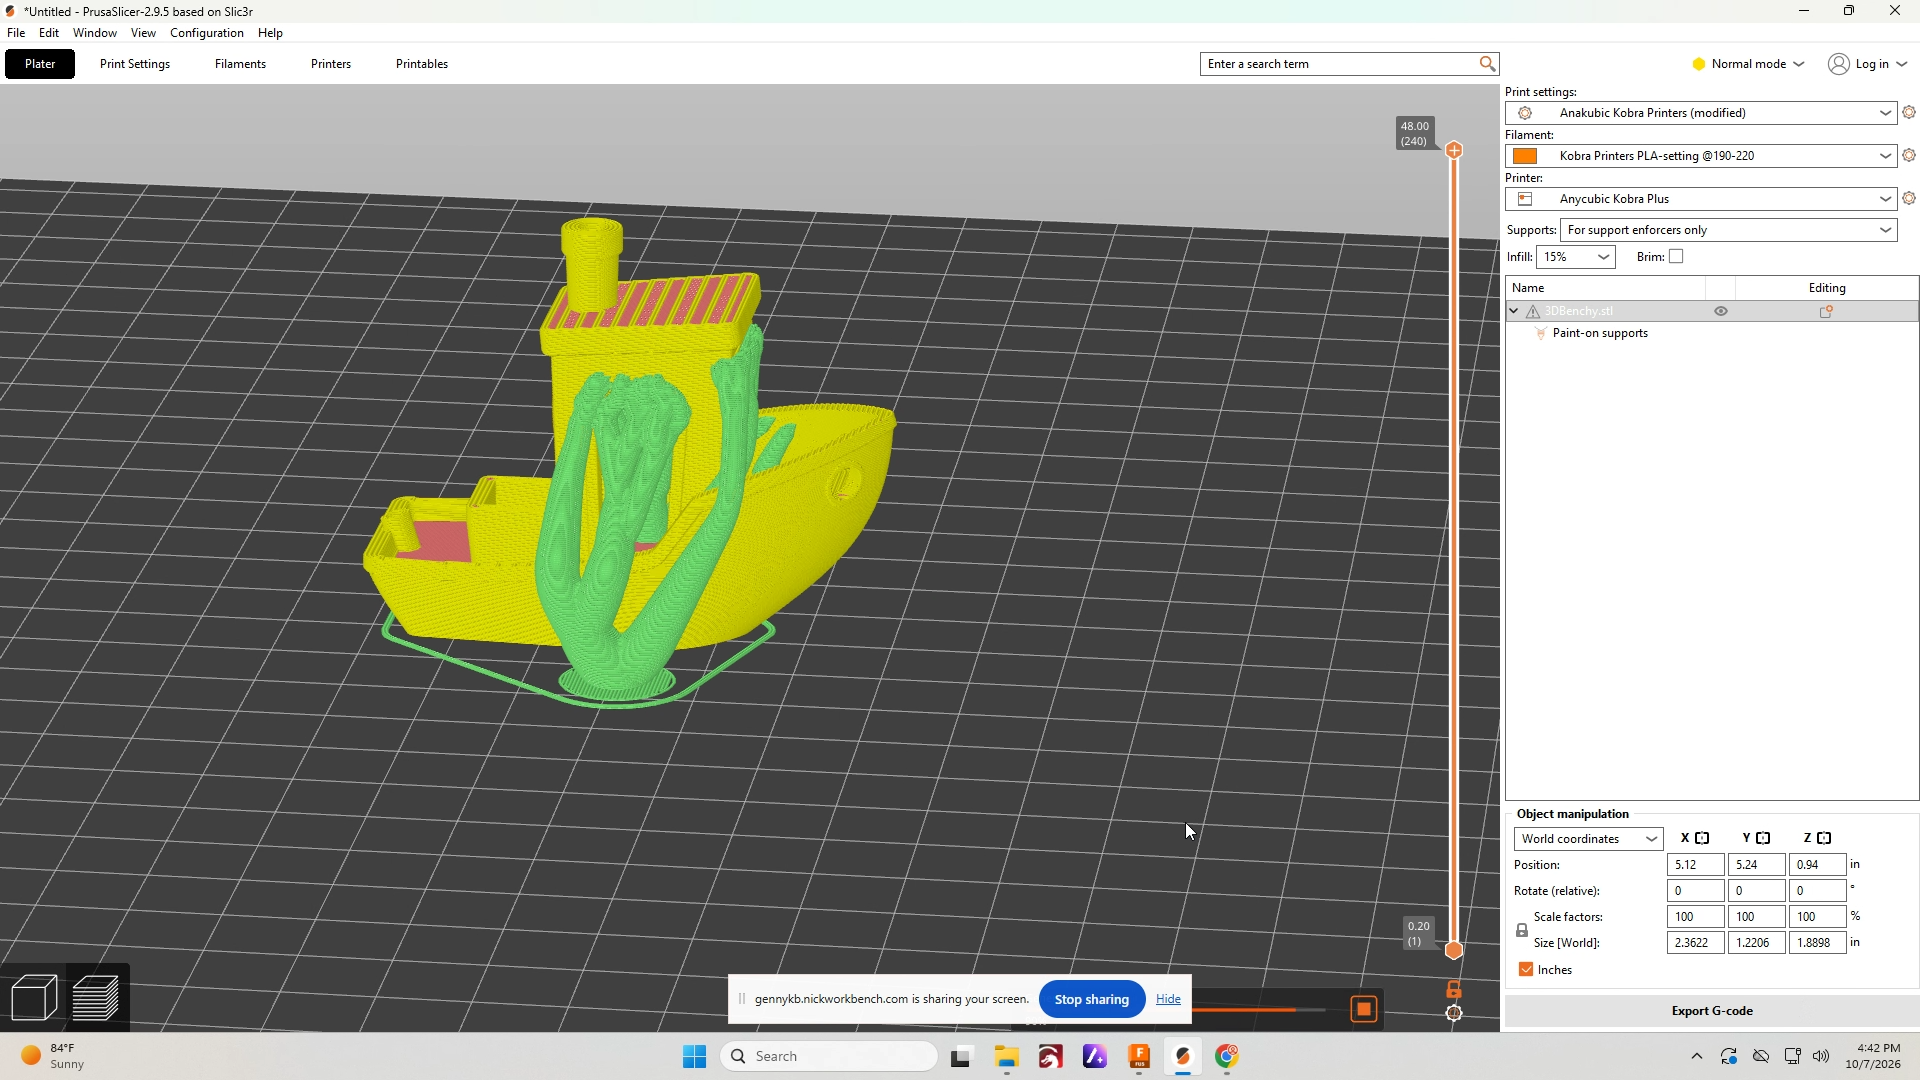
The green structure around the model is support material
Manual support painting
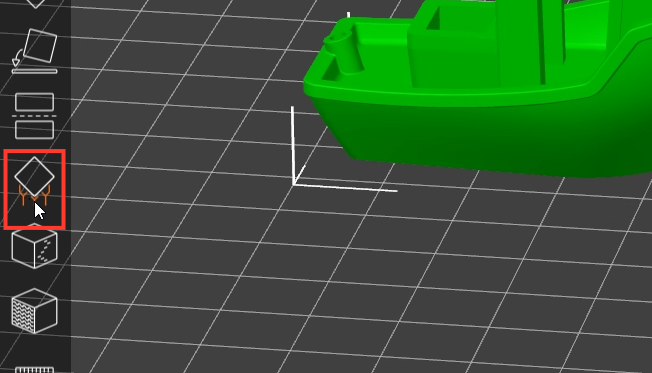
You can specify your desired support areas by using the manual painting option. To paint supports select the icon shown below.
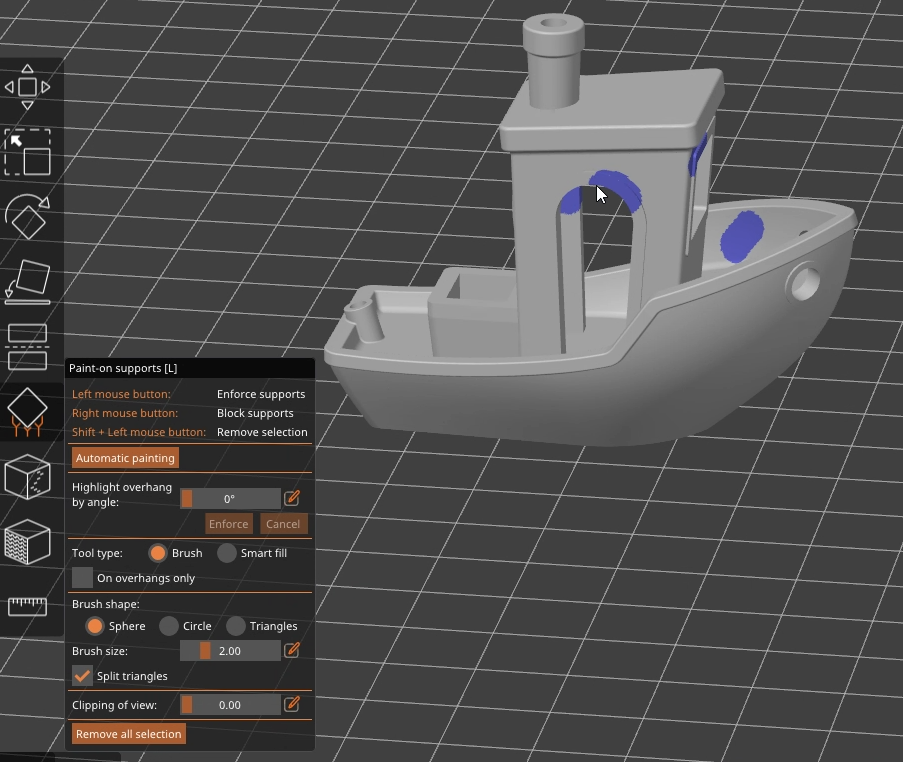
Paint supports as needed
Paint supports around overhangs where it is required. The paint tool has options to identify only specific overhangs as needed.
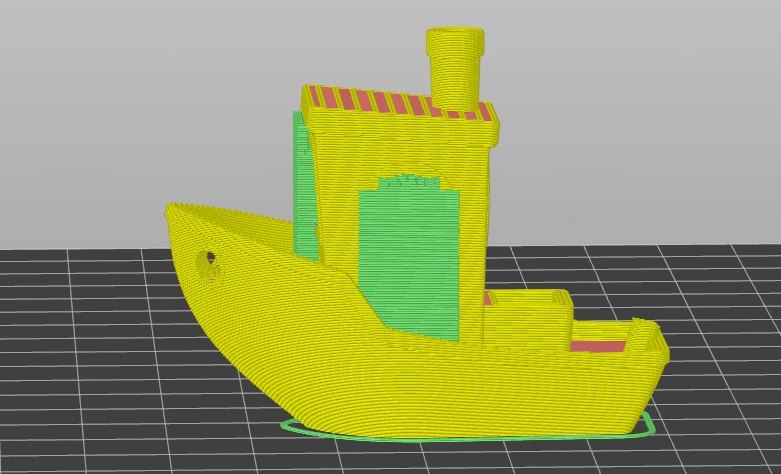
Slice to see results
In this example there are now only supports under the arch where they were painted
Support settings can be changed
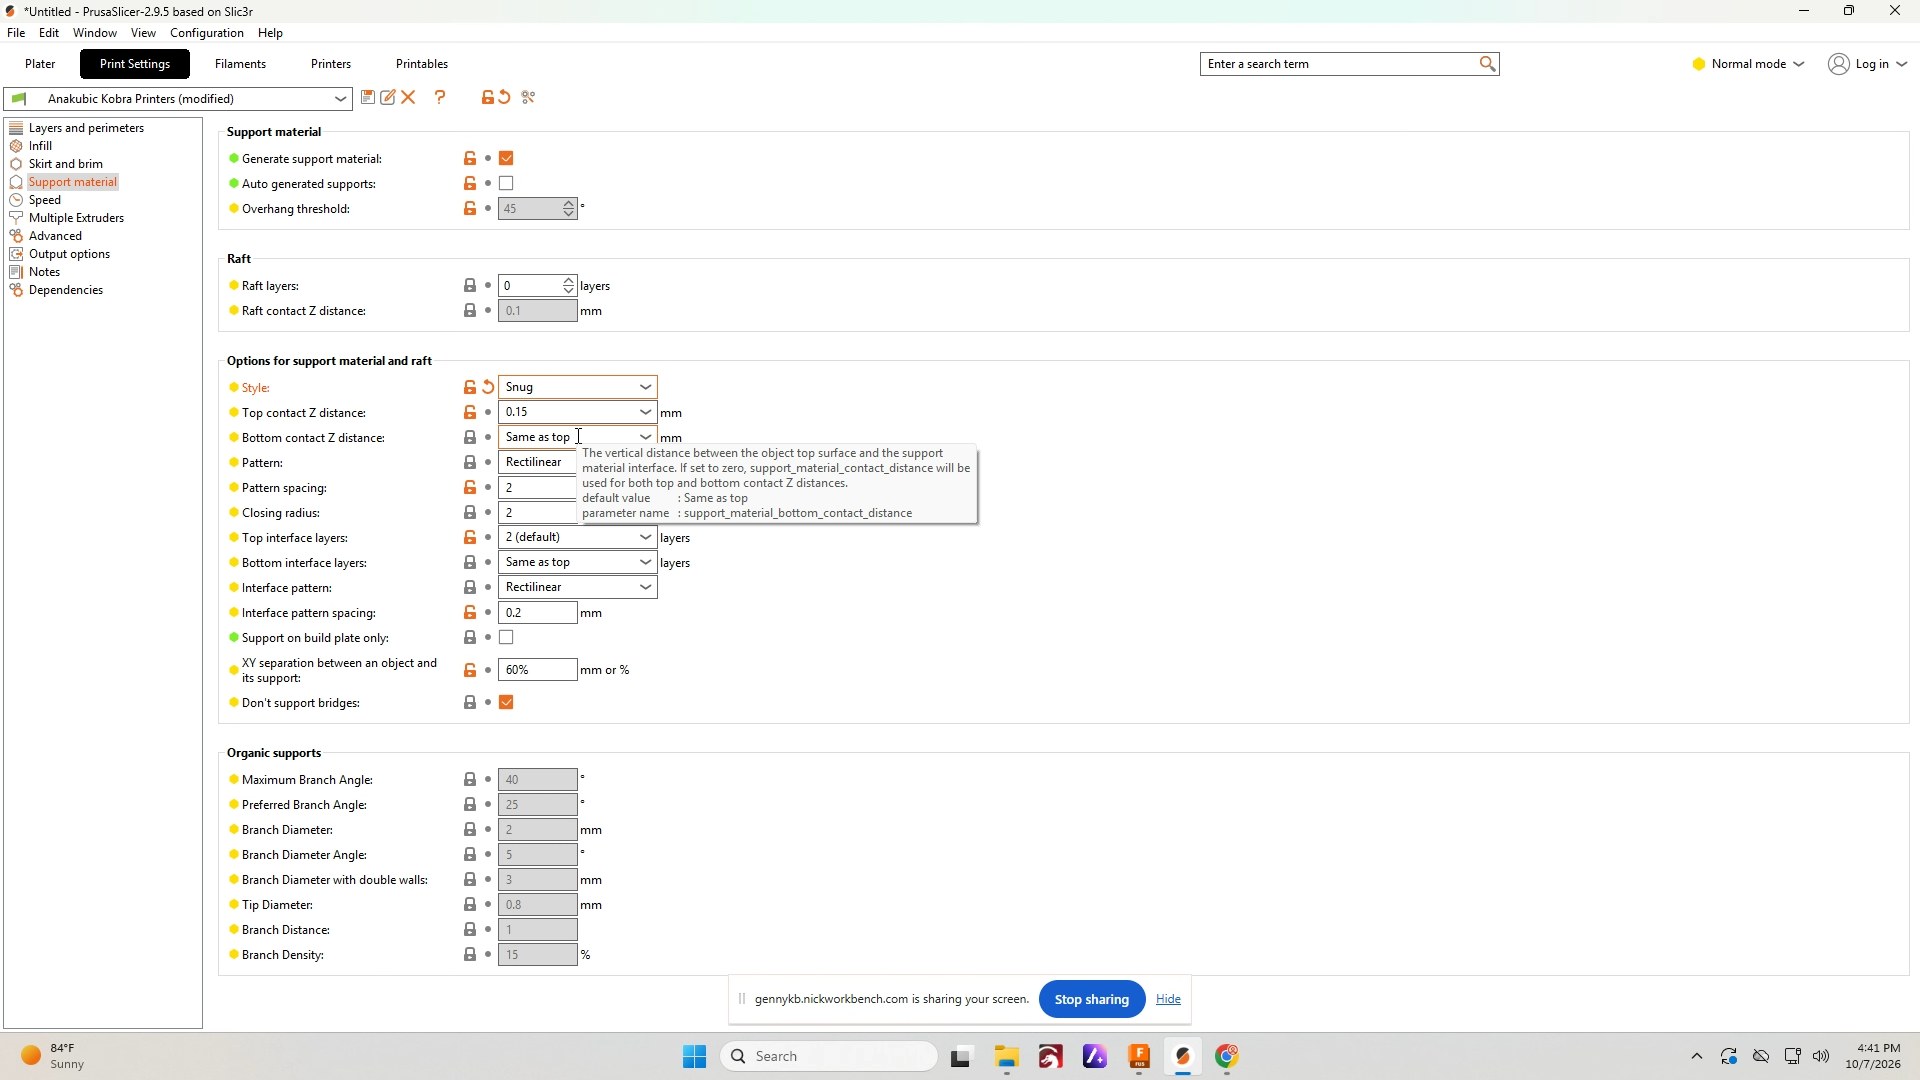
Snug support generates support closer to the model
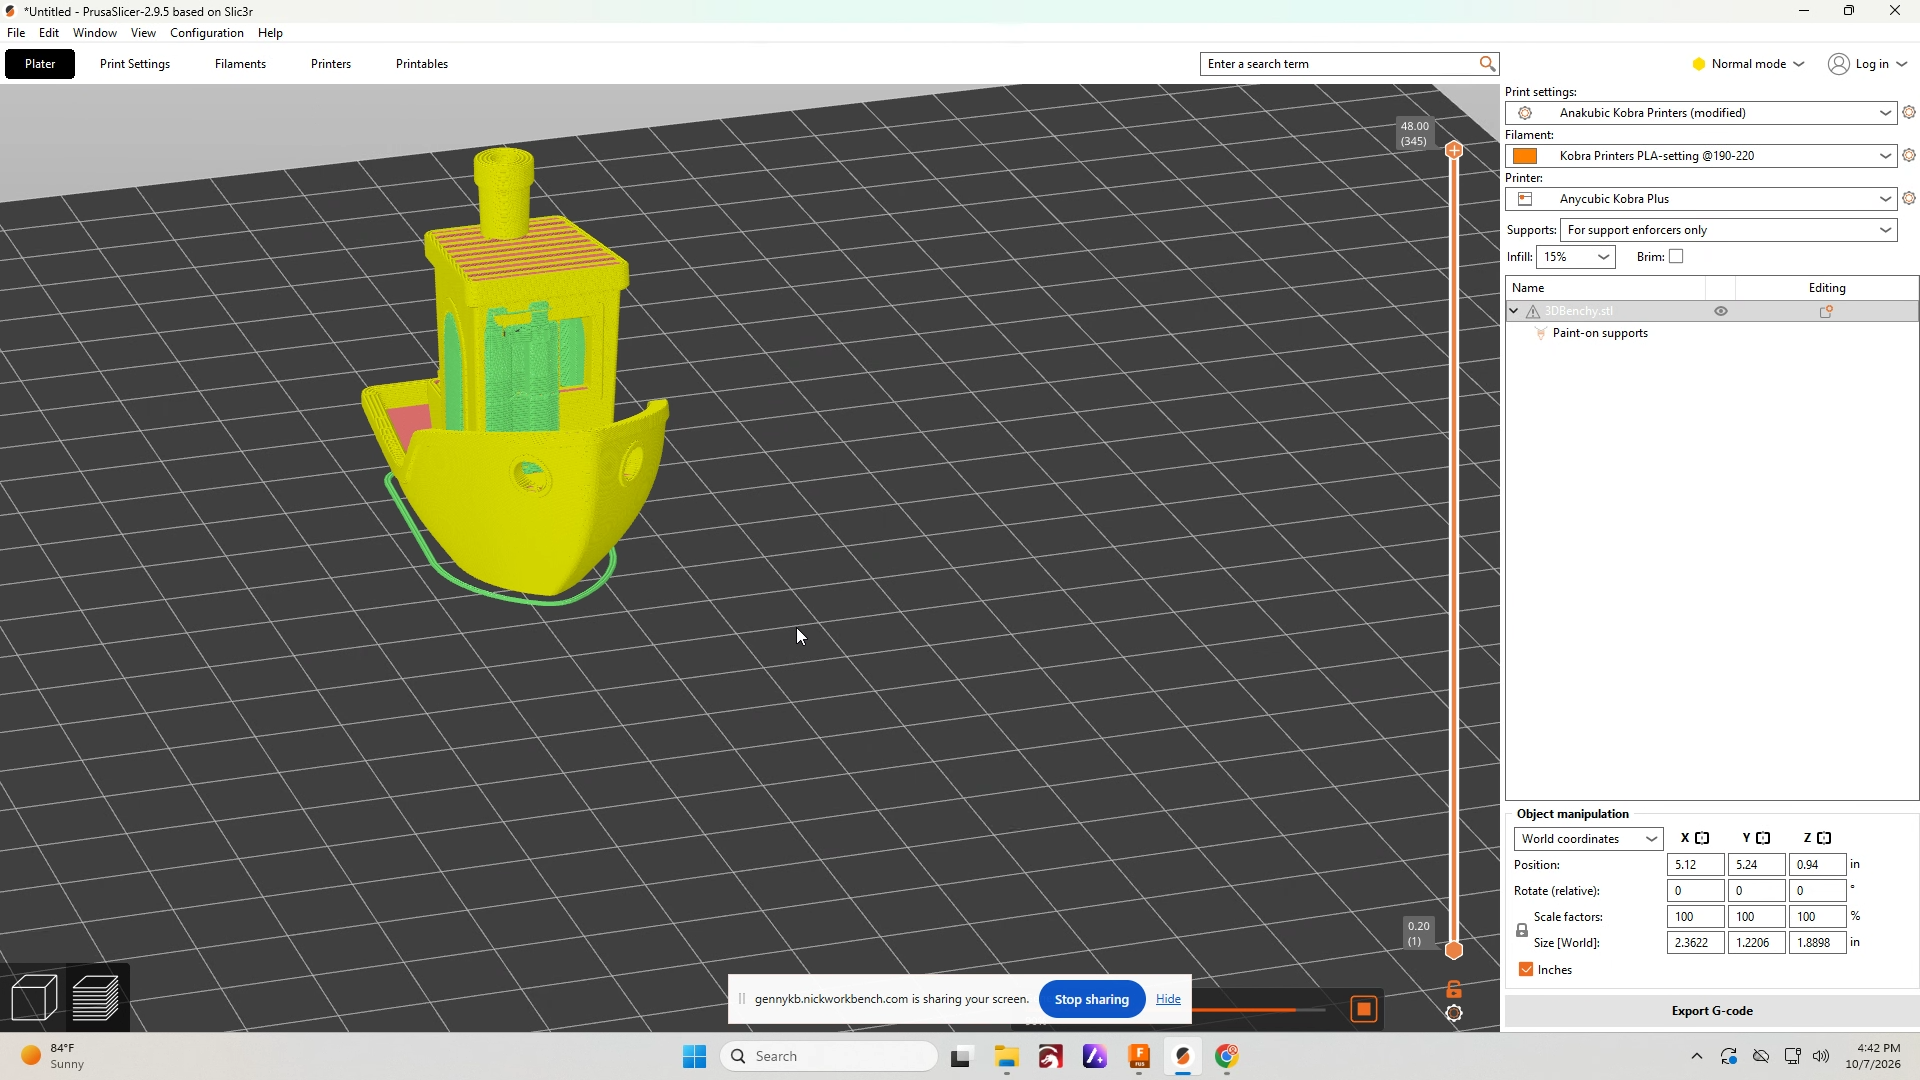
Organic Support
Organic support is frequently used because it works well and is one of the easiest to break off
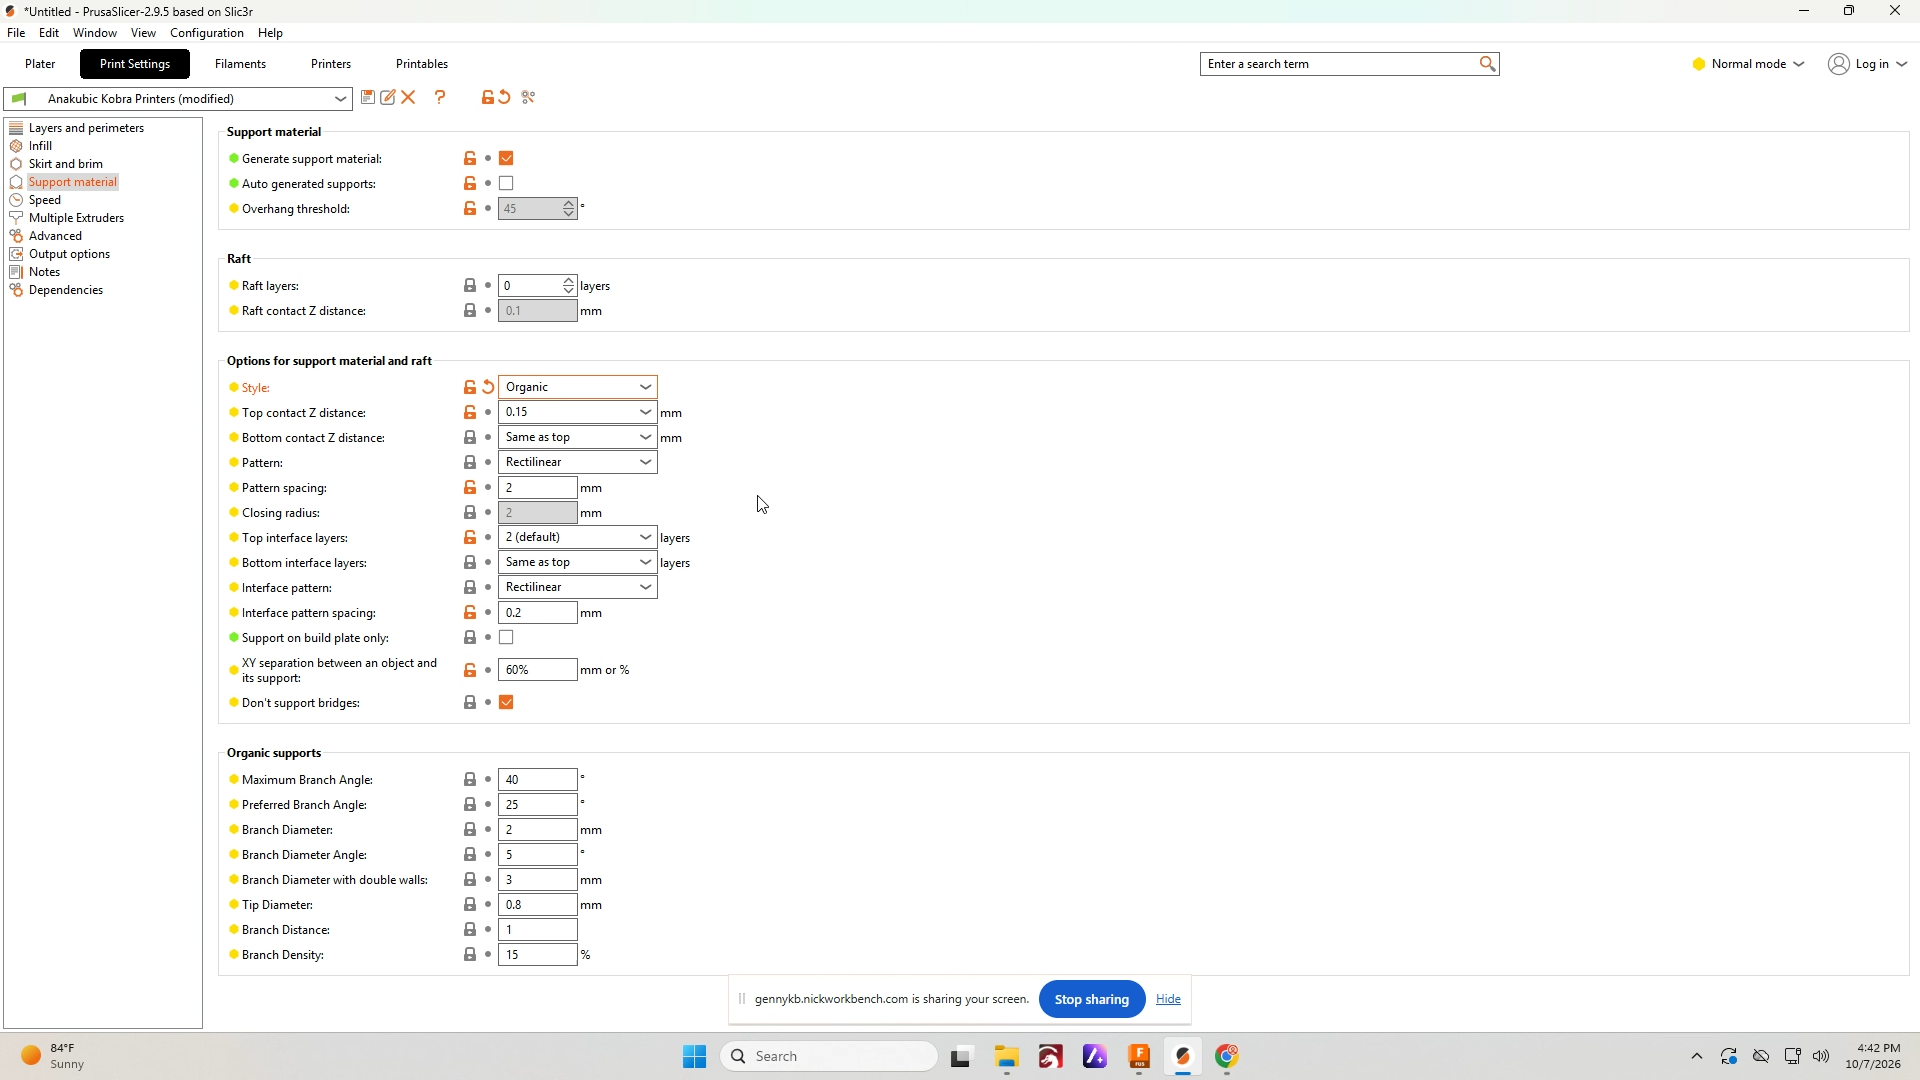
Organic support example